Cropping Profile Images Using the MDL Template (Photopea Guide)
Contents
- 1.Step 1: Open Photopea
- 2.Step 2: Open the Template
- 3.Step 3: Add the Actor Photo
- 4.Step 4: Position the Image
- 5.Step 5: Move the Template Above the Photo
- 6.Step 6: Enable Free Transform
- 7.Step 7: Resize the Image
- 8.Step 8: Straighten the Image if Necessary
- 9.Step 9: Select the Crop Tool
- 10.Step 10: Set Crop Ratio
- 11.Step 11: Create the Final Crop
- 12.Step 12: Apply the Crop
- 13.Step 13: Export the Image
- 14.Final Checklist
This guide explains how to use the MDL Profile Photo Template in Photopea to crop and position profile photos according to MDL's profile photo standards.
The template helps ensure that profile photos are:
Consistently sized and cropped.
Properly centered.
Aligned using the recommended eye placement guide.
Framed with balanced spacing around the head and face.
Before starting, download the MDL Profile Photo Template and prepare the image you wish to crop.
Requirements
Photopea (recommended)
MDL Profile Photo Template (.png)
The profile photo you wish to crop
Follow the steps below to create a correctly formatted profile photo ready for upload.
Note: The template is intended as a guide, not a strict rule. Minor adjustments may be necessary for different hairstyles, headwear, image angles, or unusually cropped source photos.
Step 1: Open Photopea
Open your preferred browser and type in this address - https://www.photopea.com - in the URL search bar. This is the page you should be seeing when you open the site. | 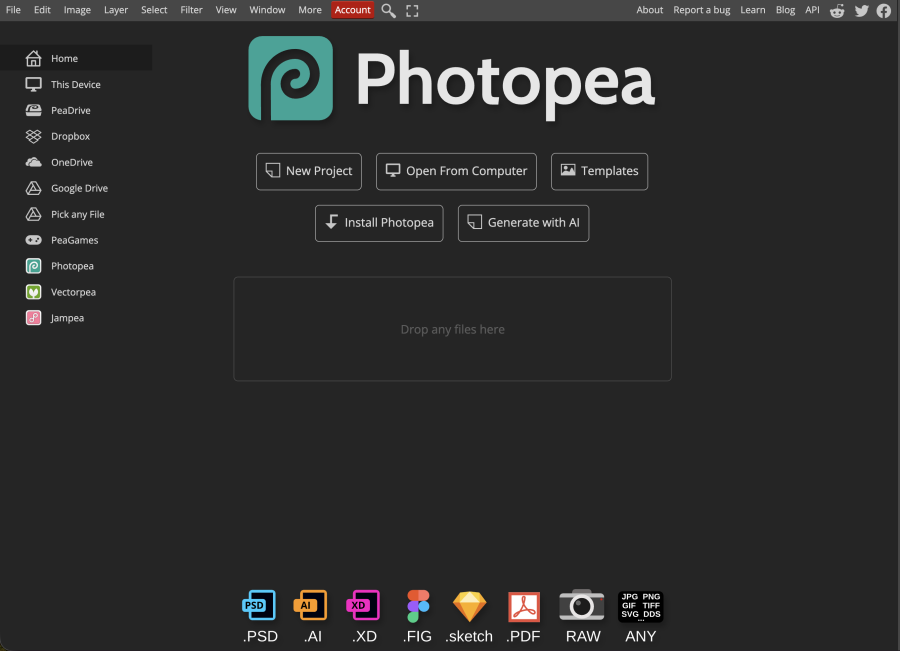 |
Step 2: Open the Template
Open the MDL Profile Photo Template file. Select: File → Open The template contains:
| 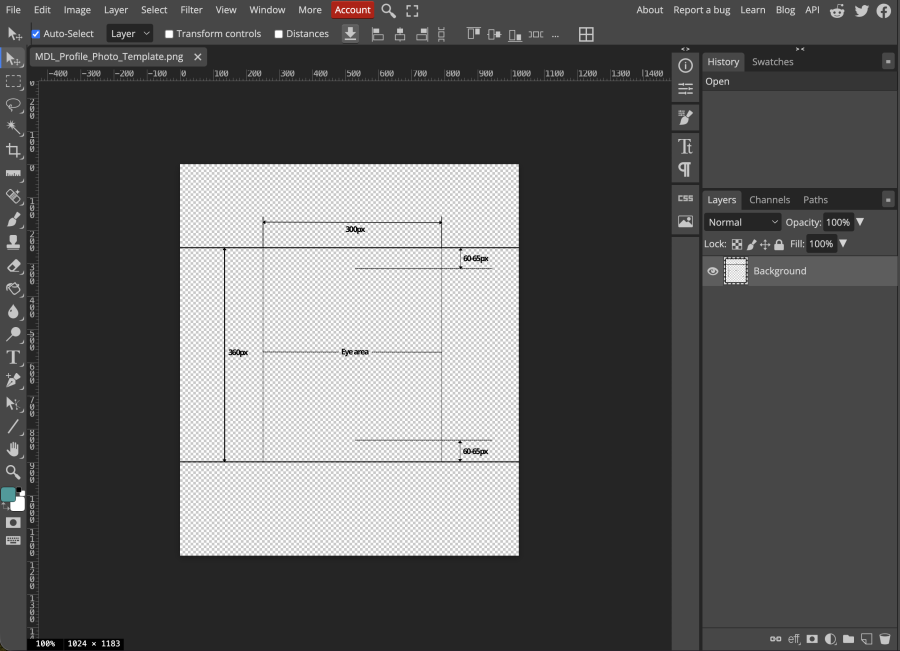
|
Step 3: Add the Actor Photo
Select: File → Open & Place This inserts the actor photo as a separate layer. | 
|
Step 4: Position the Image
The image will appear above the template. | 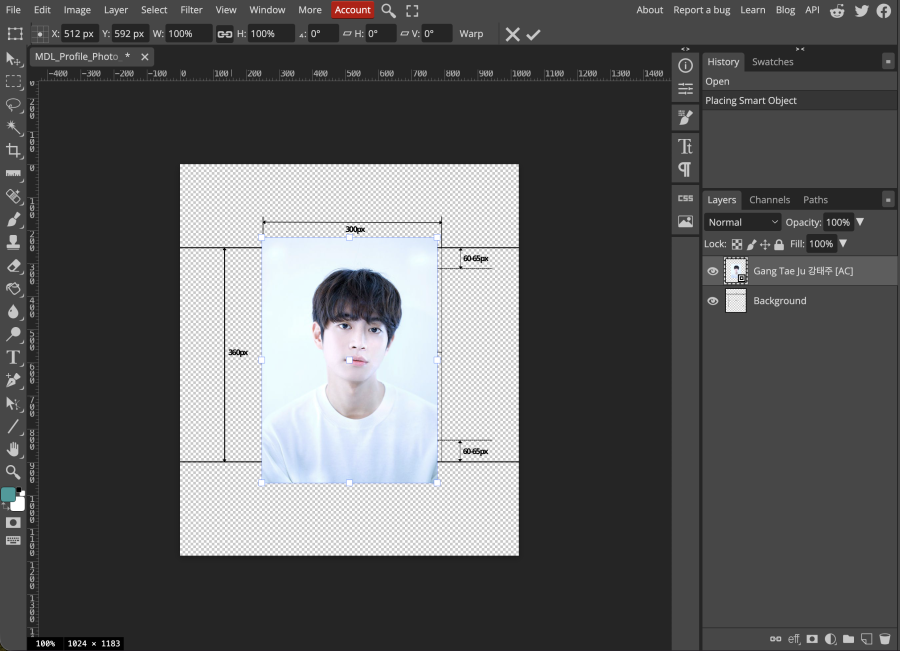
|
Step 5: Move the Template Above the Photo
In the Layers panel:
| 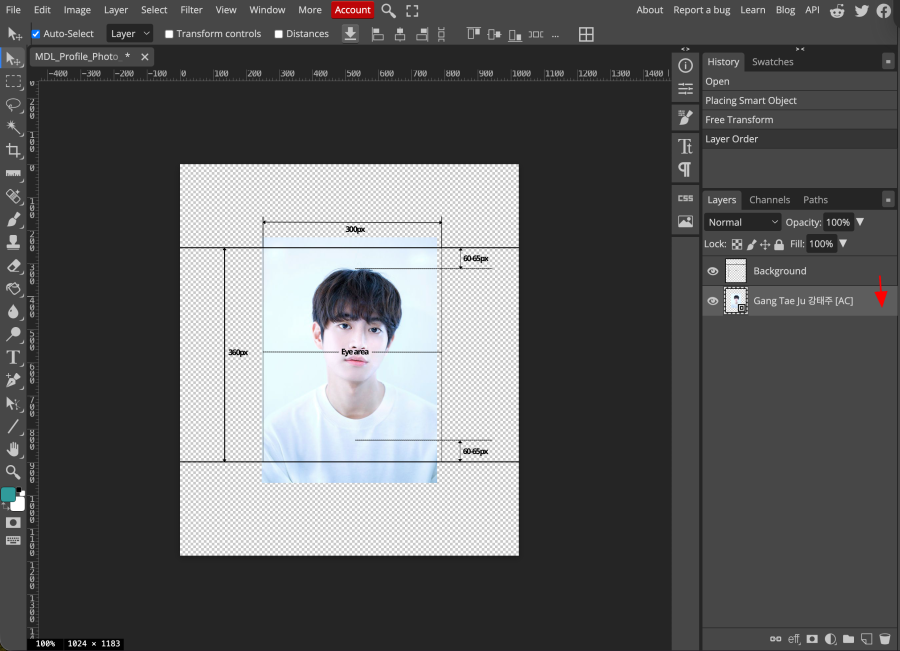
|
Step 6: Enable Free Transform
Select: Edit → Free Transform You can now resize and reposition the photo. Shortcut: Alt + Ctrl + T or Option + Cmd + T | 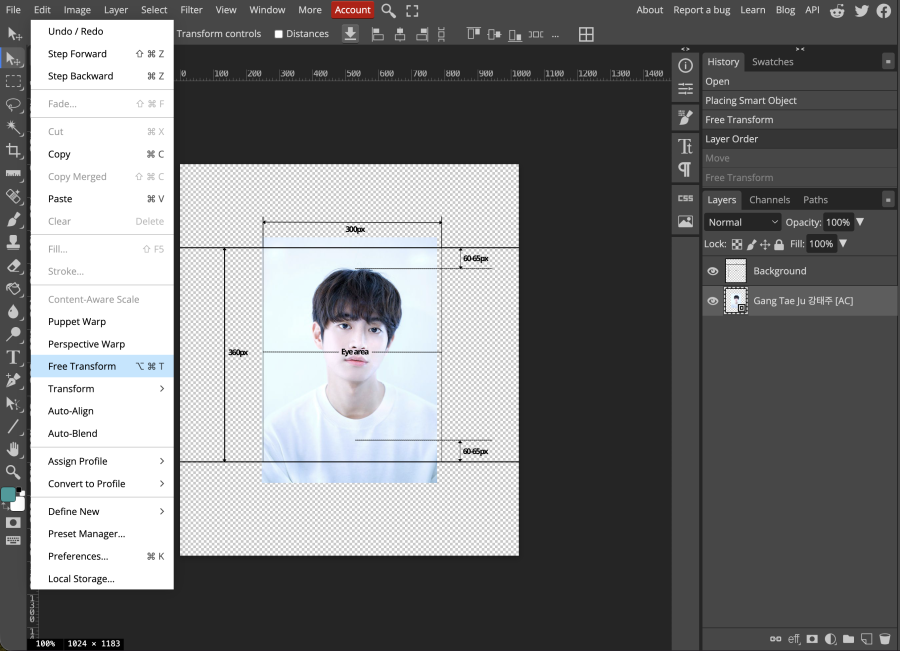
|
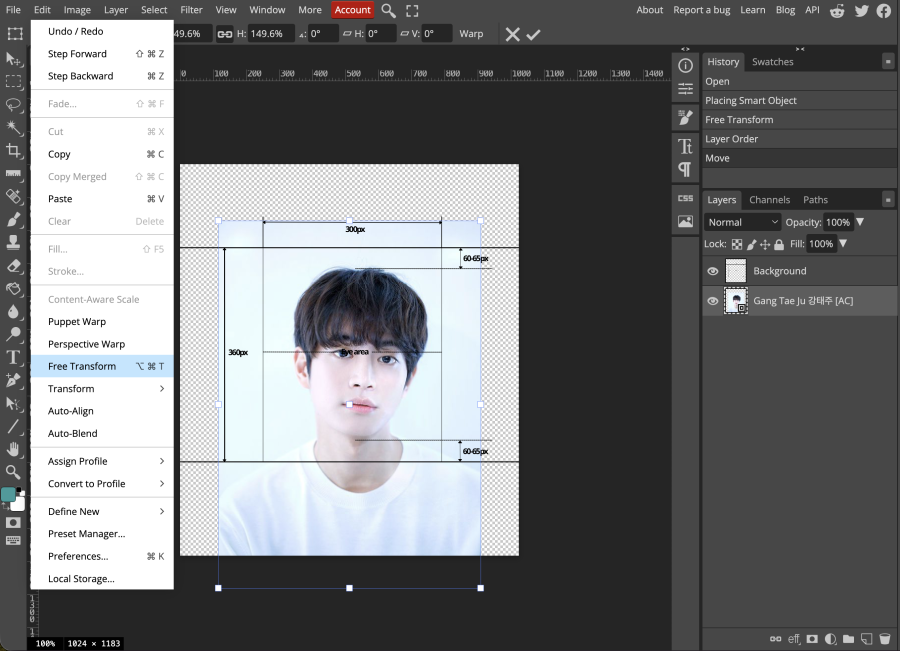
Step 7: Resize the Image
Scale the image until:
| 
|
Step 8: Straighten the Image if Necessary
If the image is tilted:
Only use small adjustments. | 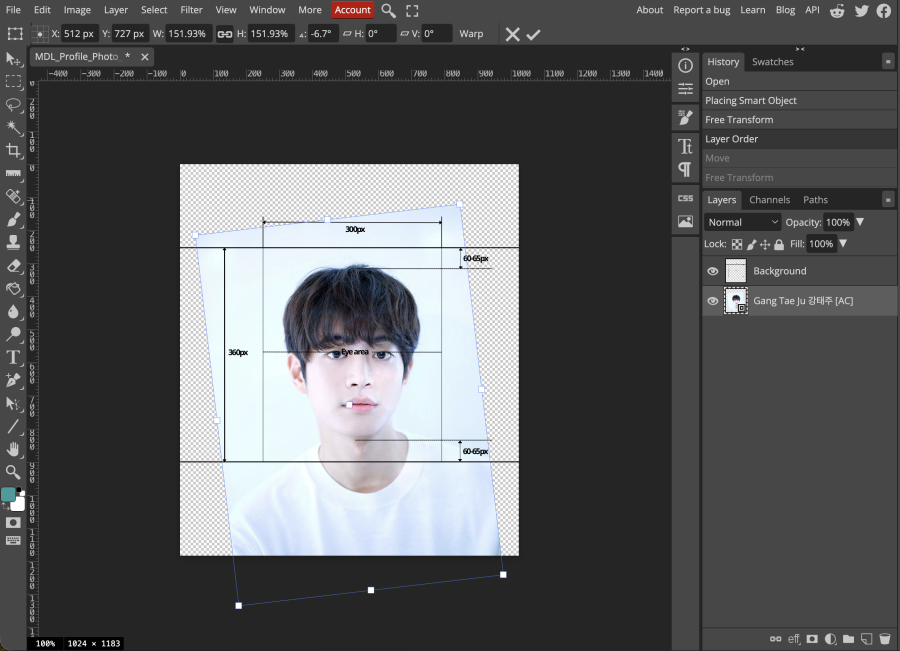
|
Step 9: Select the Crop Tool
Choose the Crop Tool from the toolbar. | 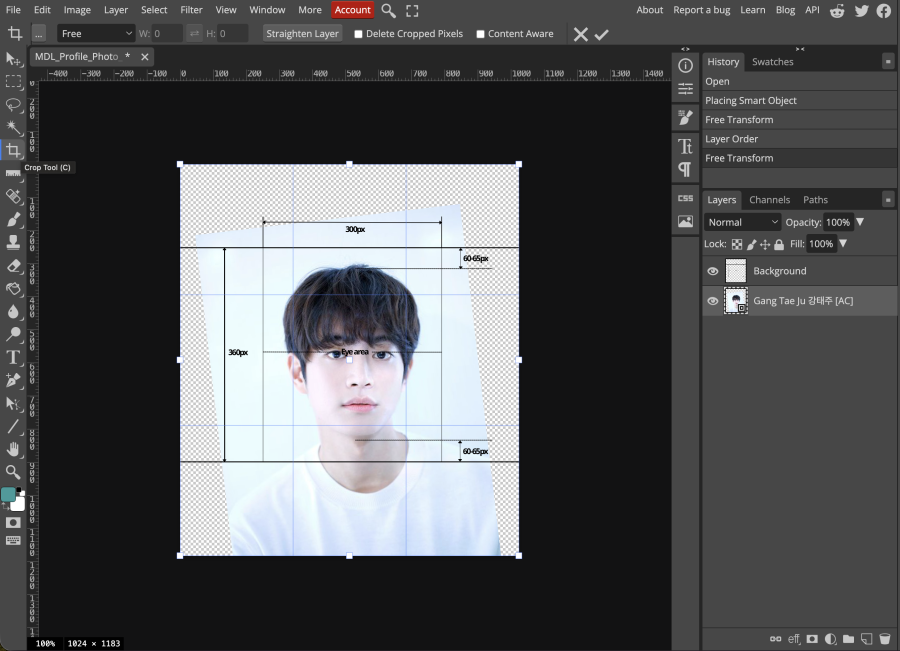
|
Step 10: Set Crop Ratio
Change Crop Mode to: Fixed Ratio Enter:
| 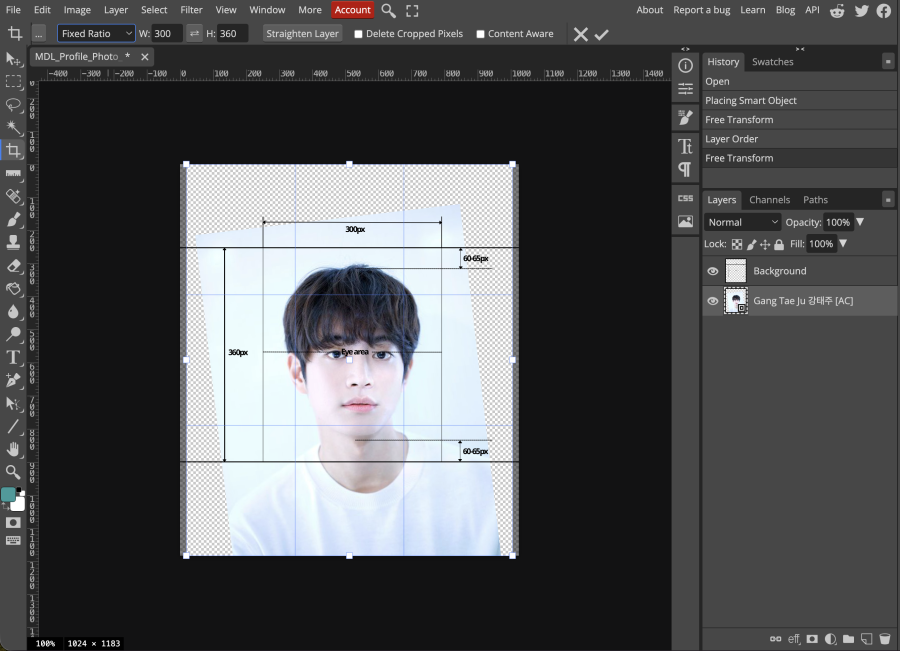 |
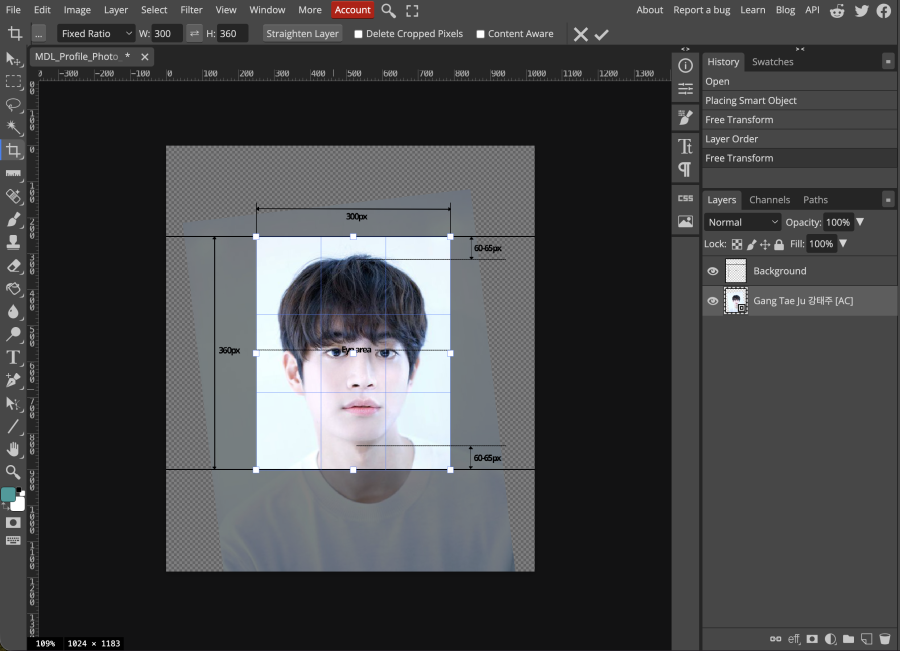
Step 11: Create the Final Crop
Adjust the crop box so it matches the template dimensions and framing. Ensure:
| 
|
Step 12: Apply the Crop
Press: ✓ Confirm The image is now cropped to the correct ratio. In the Layers panel:
| 
|
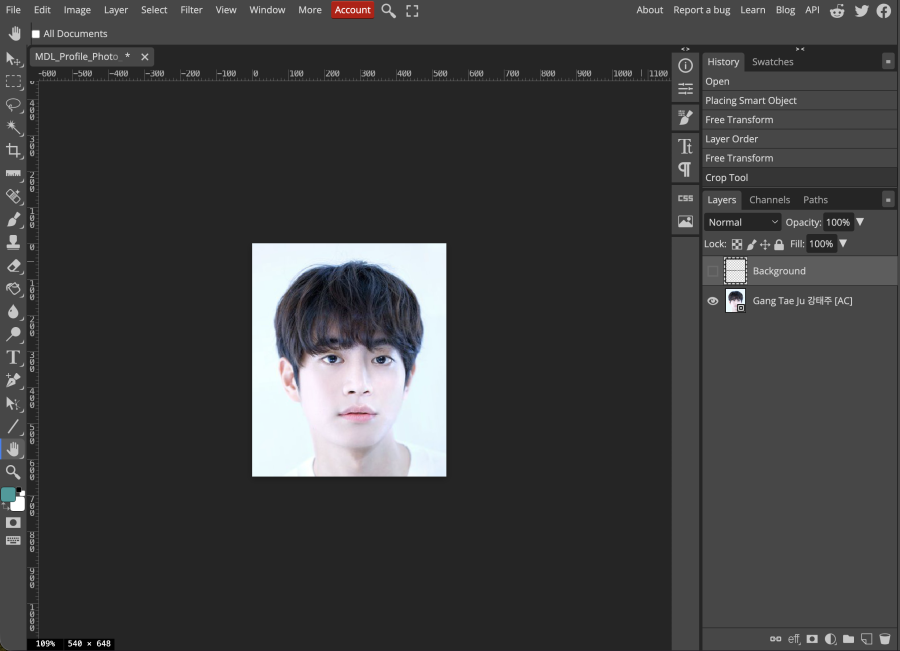
Step 13: Export the Image
Select: File → Export As → PNG Save the completed profile photo. | 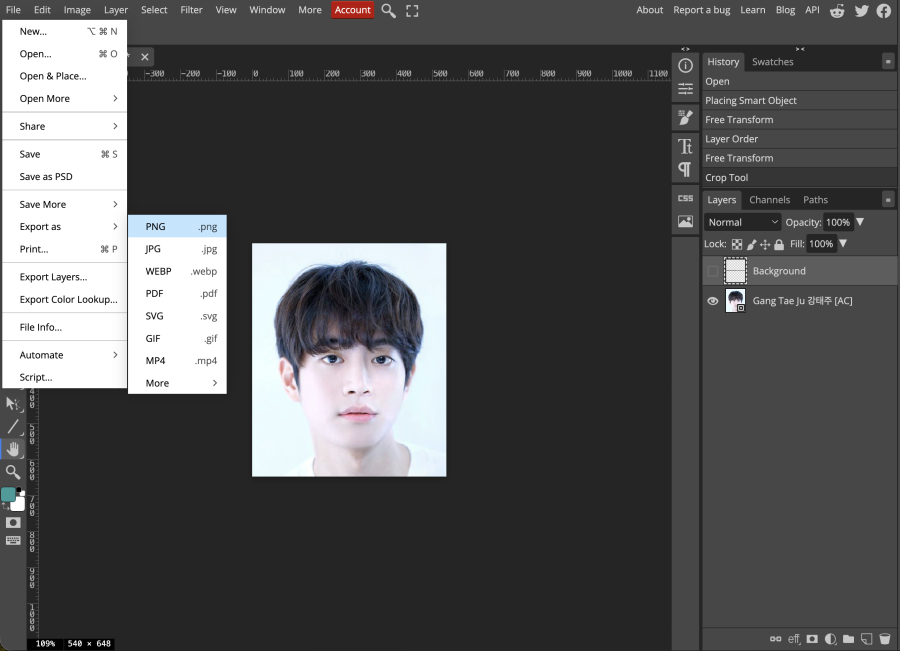
|
Final Checklist
Before uploading:
✓ Image ratio is 300 × 360
✓ Face is centered
✓ Eyes align with the eye guide
✓ Head spacing is balanced
✓ Image is not tilted
✓ No important facial features are cropped
← Go Back